Nikon D750 + Nikon 20mm f/1.8 @ f2, 10 sec, ISO 2000.
Ever seen some images of the clear night sky painted in a collage of stars surrounded by an interstellar glow? Perhaps you may be wondering what it takes to capture these photos. Photographing the Milky Way is becoming more achievable than ever with advancements in camera and lens-making technology. Photographs and time-lapse videos of the Milky Way are showing up on social media more and more. If you are looking to understand how this is achieved, you are in the right place. Read on to find out more:
1. Conditions, Location & Weather

The moon light can washout the night sky (bad time to take Milky Way photos)
Yes, it will take a fair bit of planning, but I assure you the results are well worth the effort. The first proper shot of the Milky Way that I’ve taken sent chills of satisfaction down my spine. First of all, you’ll need to be in a location with very little light pollution, so head off into the country side, far, far away from the hustle and bustle of the city. The quieter it is, the better. Ideally you need to get to a dry location at higher altitudes. Thin air with low humidity would result in clearer night skies. Also, be sure to check the moon phase before heading out. You would want to shoot the Milky Way on a new moon (the phase of the moon that is invisible from Earth). Check the weather as well. Cloudy night skies will block out the Milky Way.
2. Finding the Milky Way with an app

Milky Way as seen in the Star Chart app
I use the free Star Chart app (link to iOS/Android) to determine the location of the Milky Way. You would want to photograph the center of the Milky Way as it is the brightest and most interesting part.
3. Equipment

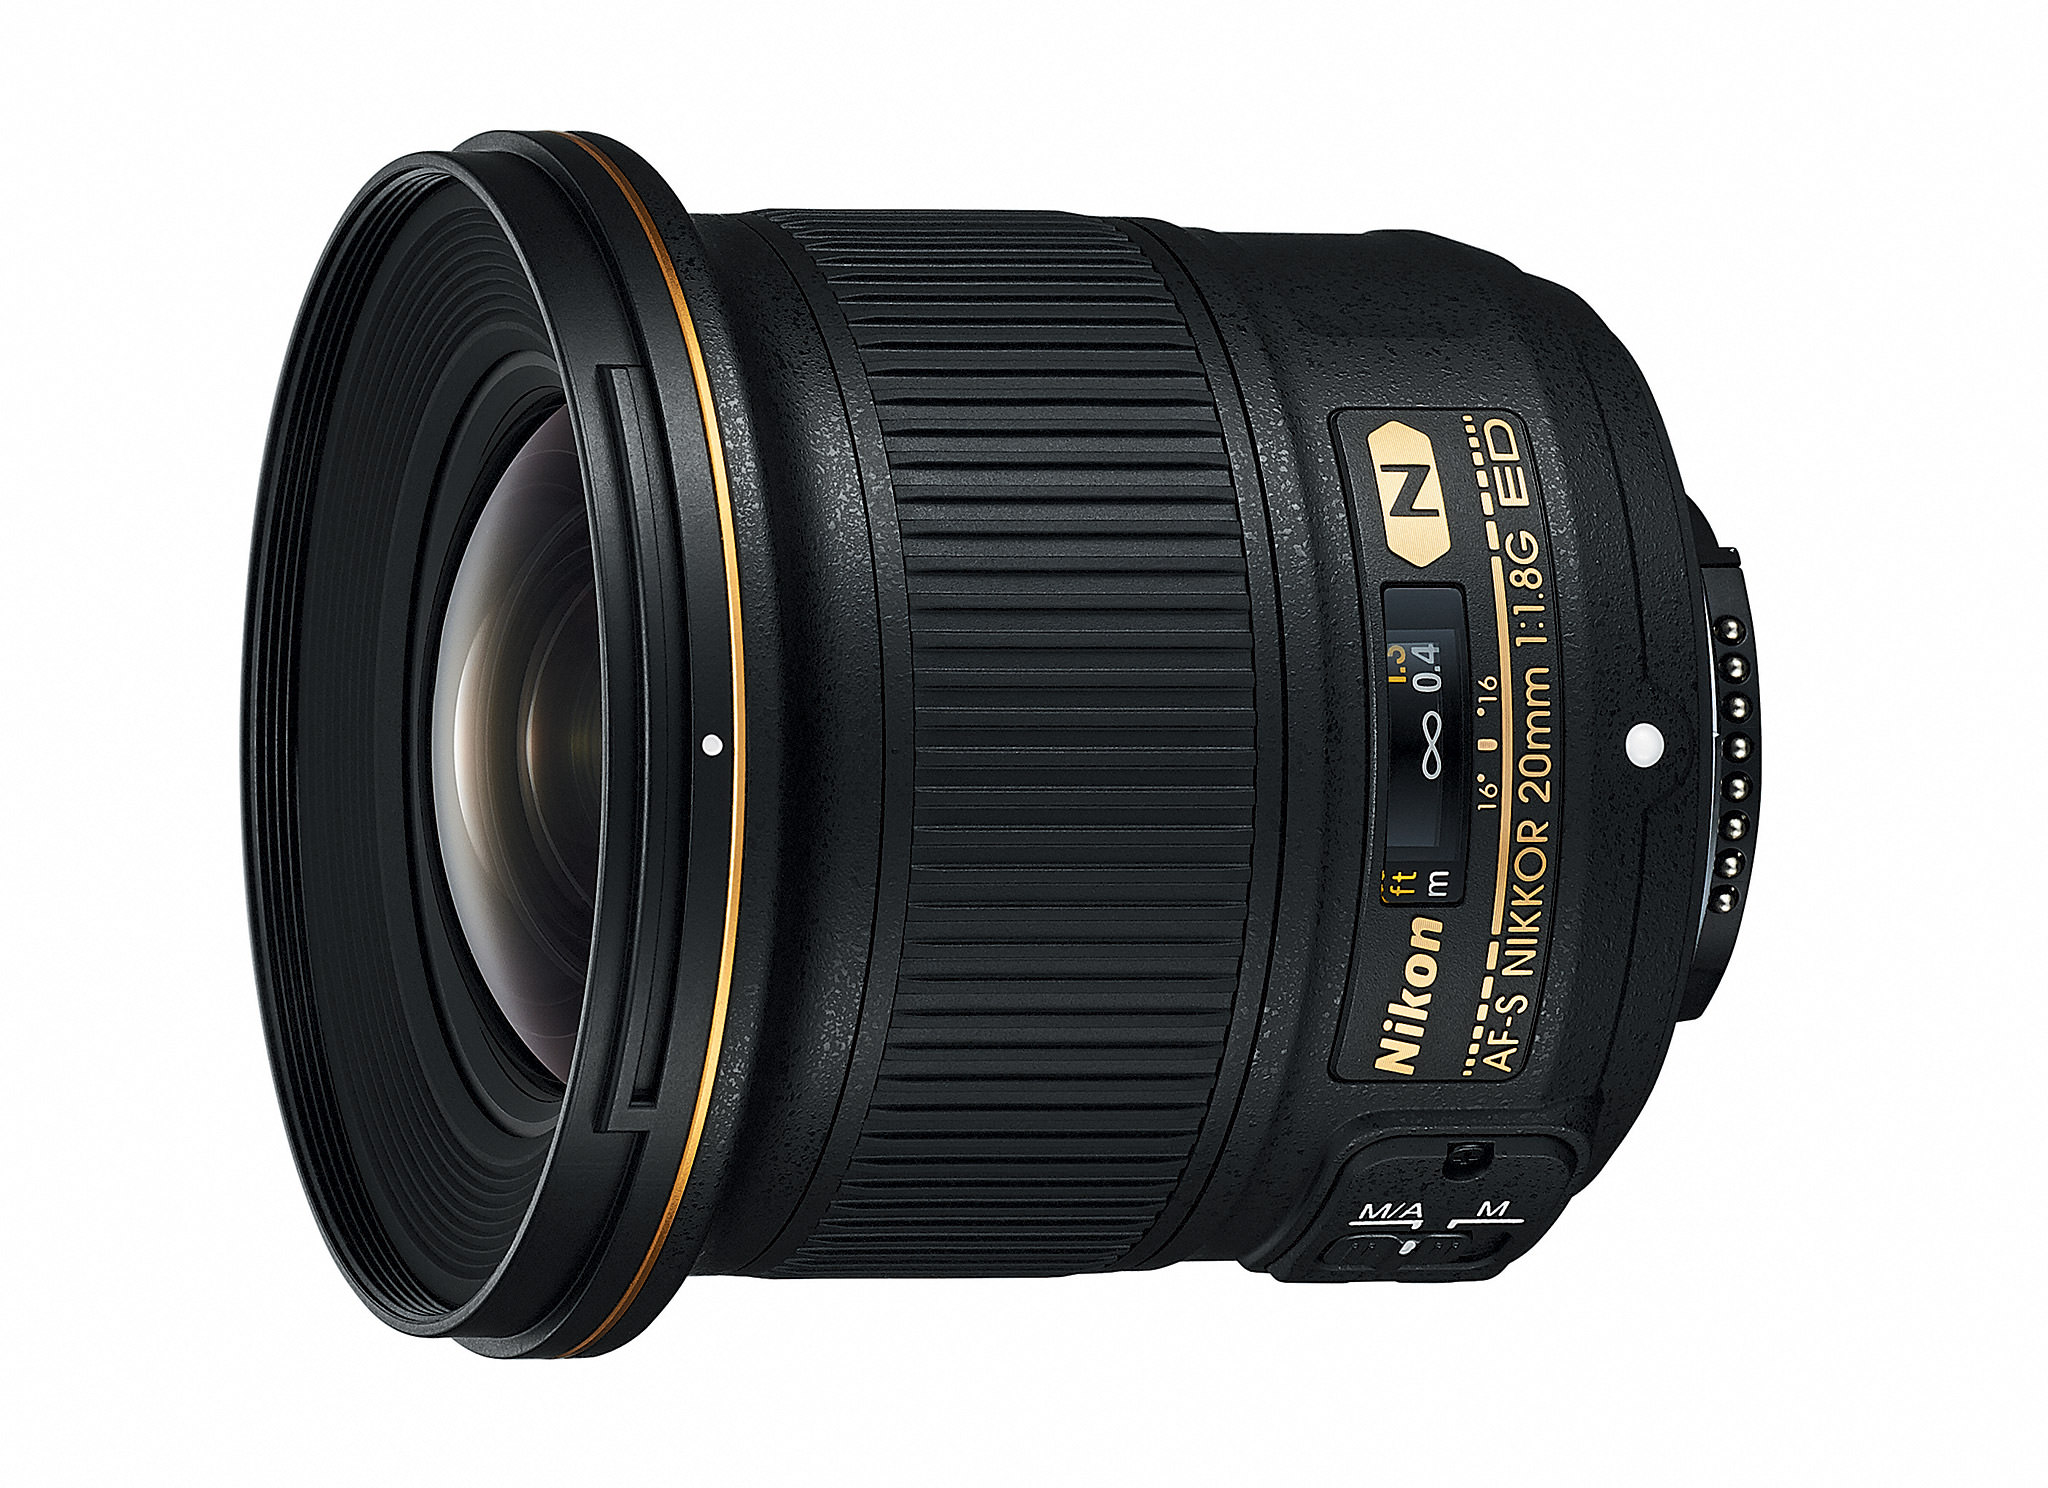
AF-S Nikkor 20mm f/1.8G
Having a tripod is absolutely crucial as you will be taking long exposure shots. You would also need a wide angle lens with a large aperture that lets in as much light as possible. My recommendation is to go with a lens that is a full-frame equivalent of 28mm or wider that has a maximum aperture of f/2.8 or faster. I use an AF-S Nikkor 20mm f/1.8, one of Nikon’s more affordable wide angle primes. It is a whole lot brighter than its predecessor the AF-D Nikkor 20mm f/2.8.
4. Settings
Nikon D750 + Nikon 20mm f/1.8 @ f/2, 20 sec, ISO2500
Before the shoot, focus your lens to something at infinity (the horizon, or anything really far away), then put your lens into manual focus and tape the focusing ring with some masking tape to ensure that you don’t throw the lens out of focus during the shoot. Yes you heard me! I’m going the extra DIY mile here. Basically the idea is to fix the focus of your lens, and then to make sure that it stays that way.
Use Manual mode and shoot with your aperture wide open. If you have a lens that goes up to f/1.4, you have the option of stopping it down a little to preserve some sharpness. A 20 second exposure at ISO 2000 should be adequate. Note that if you take a 30 second exposure, the stars will streak a little due to the rotation of the earth. You can control the exposure by varying your ISO from 1600 to 3200. Use a cooler white balance setting for a more natural night sky look.
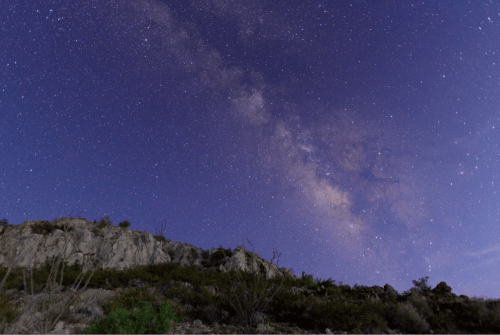
5. Foreground

Nikon D750 + Nikon 20mm f/1.8 @ f/2, 20 sec, ISO2500
Being able to photograph the Milky Way successfully is an amazing experience. Although it may take some planning and initiative at the start, having a Milky Way shot in your portfolio is just something that feels like a milestone to me. It really puts life into perspective when you take the time to admire its beauty in its vast expanse. Some may opt to photograph shots of the Milky Way exclusively. However, you will be able to make a more interesting image if you were to include some foreground such as plants, old buildings, rocks or mountains. Something to indicate the location you’re in to provide some context. However, this is purely subjective and I would leave the choice to you.
I was in Arizona, USA recently. Due to our packed schedule, I had a 1 hour window to take my Milky Way shot. Fortunately for me, the stars aligned and I managed to get the shot I wanted. I’ve included some Ocotillo plants in the bottom part of my image as they are a plant unique to the Sonoran and Chihuahuan Desert of Southwestern United States.
Breathtaking, isn’t it? 🙂 Do you have any further tips you’d like to share? Like to share some of your own experience(s) photographing the Milky Way?
Till next time. Cheers.
Article by,
Steven Wong